The First Steps to Starting Grace Rose Flowers in New York
- Hannah Seligson

- Jan 29
- 6 min read
Updated: Jan 30
As spring approaches, we’re excited to share a major milestone: we’re officially beginning our journey to start a small-scale, sustainable flower farm in Greene County, New York. This post walks through the foundational steps we’re taking to turn our dream into reality—from assessing our land and soil health to planning weed management, bed design, and crop layout. We dive into our site evaluation process, soil testing results, tarping and amendment strategies, and the thoughtful design behind our permanent beds and seasonal flower groupings.
Guided by principles of sustainability and efficiency, this marks the first chapter in building a flower farm rooted in healthy soil, intentional planning, and a deep love for growing beautiful flowers. Let's dive in!
Steps to Starting Our Flower Farm
Step 1: Initial Garden Setup and Site Assessment
Location and Size: Our property is technically located in the township of Ashland in Greene County. However, our address leverages the town of Prattsville (I'm not sure why). Our property spans 2.75 acres, and we're starting with 1/4 acre (10,890 sq ft) for flower production.
Soil Testing: One 50 × 100 ft plot was marked out for the initial plot. Five soil cores were taken to a depth of 6 inches from the primary plot and combined into multiple samples representing the entire 1/4-acre plot. This sample was sent to Logan Labs.
Key soil test indicators included:
Micronutrient deficiencies that could be addressed during initial tillage
Soil pH
Percent organic matter
The new plot will start with a relatively high organic matter level of 6%.

Walking the Land: The site was walked to identify low spots and potential drainage issues. Luckily, there is a 5% convex slope with good drainage and little flooding. In USDA Zone 5a, where annual rainfall ranges from 35 to 60 inches, proper drainage is especially critical.

Web Soil Survey: The Web Soil Survey tool is recommended for obtaining a detailed soil profile, including typical water-table depth, restrictive soil layers, and land slope or contours.

Vegetation Assessment: Existing vegetation, including creeping thyme, red clover, and grasses, was identified through field observation. These species informed future weed management strategies.

Step 2: Tarping / Occultation Strategy
To manage the grass and other weeds, a 50 × 100 ft Farmers Friend tarp was applied across the plot (so far). We will leave the tarp on our initial site from January to April (3 months) to suppress perennial weeds.
Step 3: Amendments Application and Initial Tillage
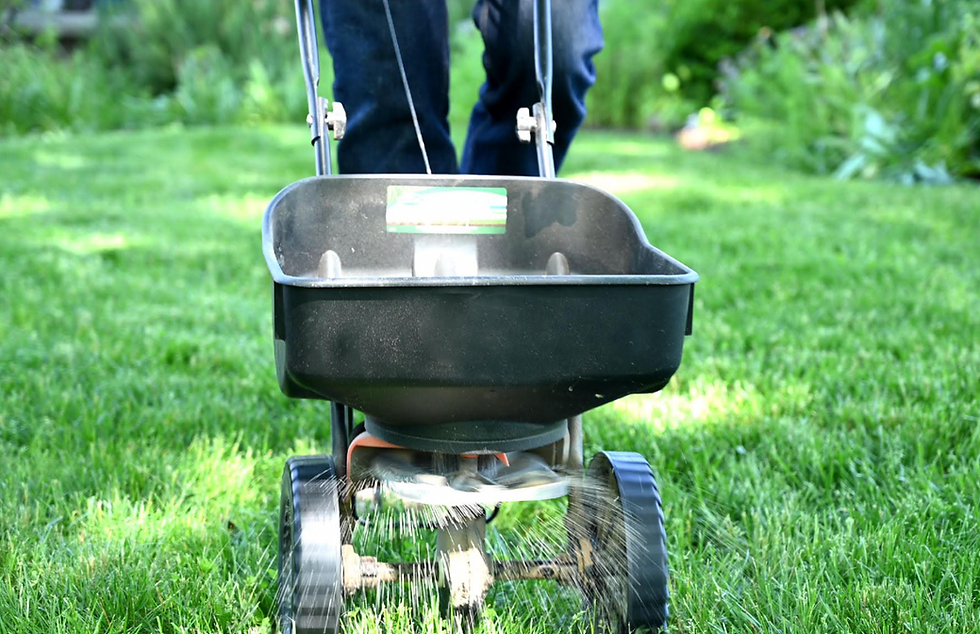
Amendment Application: Once we remove any tarps, soil amendments will be applied based on our soil test results. We'll likely use a standard lawn spreader to evenly distribute mixed amendments across the 50 × 100 ft plots.
Initial Tillage: We've yet to do this, but we'll likely use a rotary plow (we're hoping to find a BCS tractor with a rotary plow attachment via FB Marketplace or lean on a neighbor with similar tools) to till laterally across the plots, rather than in the direction of future beds, to properly incorporate mineral amendments. While this is an ideal time to add compost, we'll also use wood chips and leaf mold for mulching, sourced from nearby branches we've collected and intend to chip.

Second Tarping Phase: After this initial tillage, we'll allow the soil to hopefully receive some rain, then re-cover with tarps for at least 2 additional weeks (or 4–6 weeks during winter). This step is critical for terminating annual weeds that germinate after tillage, particularly in systems that do not use compost mulch. This process addresses both perennial and most annual weed pressure before bed formation.
Plot Edges and Infrastructure: Furrows created along plot edges by the rotary plow will be filled with wood chips. We may or may not install a three-foot-wide woven fabric weed barrier at the head of each bed to support the irrigation header, reducing weed pressure and simplifying maintenance.
Step 4: Bed Setup and Design
Bed Marking: After the second tarping, we'll lay out the beds using string lines.

Bed Dimensions: Beds will be 30" wide, with 18" walkways outside the rows. The wider walkways provide improved access for harvesting, allow comfortable movement, and work well for larger crops that canopy outward. Beds are 48 feet long, which is more manageable for a single grower and simplifies handling tarps and row covers. This length also aligns with standard farming practices.
Garden Layout: Within our plot, we'll have 5 main sections, with 29 total growing rows and 4 ft pathways (4 feet wide) separating them. The 5 sections are divided into seasons and certain flowers, for example:
Spring Beds -> 9 rows (864 ft)
Iceland Poppies, Ranunculus, Larkspur, Wallflower, Snapdragons, Lupine, Sweet Peas, Delphinium, and Bells/Bupleurum
Dahlia Beds -> 3 rows (288 ft)
170 dahlia tubers across 3 rows
Summer Beds -> 10 ros (960 ft)
Cosmos, Zinnias, Lisianthus, Scabiosa, Celosia, Agertum, Lavatera, and Feverfew
Sunflower beds -> 2 rows (192 ft)
270 sunflowers across 2 rows
Fall Beds -> 5 rows (480 ft)
Chrysanthemum, Aster, Strawflowers, Statice, Grasses/Grains
I then subdivide each row into successions and separate short and tall flower varieties based on the sun direction (so the taller flowers don't cast a shadow on the shorter ones). See the example below:

Caterpillar Tunnels: The 48-foot bed length accommodates the typical 48-foot-high tunnel, which ventilates more effectively than longer tunnels. This passive airflow will reduce dead zones, disease pressure, and the need for constant sidewall management. This is something we're aiming to add to our farm during the Summer/Fall of 2026.
Step 5: Ongoing Bed Preparation
Broadforking: After marking the beds, the first step is to loosen the soil with a broadfork. This tool uses long, vertical steel tines and sturdy handles to leverage the soil without turning it over. By rocking the broadfork back and forth, the tines break up compaction to a depth of 8–12 inches, enabling air and water to penetrate while maintaining the soil structure and earthworm habitats.

Fertilization: Revita Pro Growth (5-4-5) is a composted chicken manure fertilizer enhanced with kelp and micronutrients. It will likely be applied at a rate of five pounds per 96-foot bed (each bed measures 48 feet, with an additional 48-foot bed behind it). This application targets approximately 100 pounds of nitrogen per acre. A tilther will be used to incorporate the fertilizer into the soil, or alternatively, a standard garden rake can be used.
Note: A tilther is a lightweight, hand-pushed gardening tool, often powered by a battery drill, designed by Eliot Coleman, that gently works the top 1-2 inches of soil to break clumps, mix in compost/amendments, and create a smooth seedbed for planting without deep tilling, making it ideal for small-scale, no-till, or permanent bed gardening systems.
Leaf Mold Mulch: Next, we'll add 2 to 3 inches of leaf mold to the beds after tilling to help protect them from erosion.
Bed Height: Beds are not typically actively raised due to good natural drainage. Instead, they gradually mound as foot traffic compacts the walkways. However, since we have a 3-5% slope due East, we'll raise our beds 6-10" with firm sides and be sure to mulch early and consistently to avoid any flooding or run off.
Farm Layout Considerations: The five plots are separated by 4-foot mulched strips to allow vehicle access and material movement. These strips also serve as a transitional step toward living pathways. Wood chips at the head and foot of beds, combined with grassed edges, help capture compost, sediment, and erosion.
This is just the beginning. Over the coming months, we’ll be sharing updates as the land transforms from lawn to flower beds, seeds are planted, and our first blooms begin to take shape. We’re learning as we go, and we’re excited to document both the challenges and the wins along the way.
Thank you for following along - we can’t wait to show you what grows next!


Comments